
Why Guild Members Love Their Vintage Machines

Why Guild Members Love Their Vintage Machines

Spend any time around a quilting guild and you will notice a pattern: a surprising number of members do their best work on machines that are older than they are. Browse a collector’s lineup of vintage sewing machines and the reasons become obvious — these are tools built to last, and they reward the sewers who use them.

Blogs such as Nadel Frau document this devotion in detail, showing machines that have been stitching for generations and show no sign of slowing down. So what is it about these old machines that keeps guild members so loyal?

Reliability You Can Trust

Ask any guild member who relies on a vintage machine and the first word out of their mouth is usually “dependable.” These machines were engineered in an era when failure was not an option. Their all-metal construction holds timing and tension beautifully, which means fewer frustrating interruptions and more time actually sewing.

Repairable, Not Disposable

One of the biggest frustrations with modern machines is that a single failed part can render them uneconomical to repair. Vintage machines were built for the opposite philosophy. Nearly everything can be cleaned, adjusted, or replaced, often by the owner.

  • Accessible oiling points and removable faceplates.
  • Widely available belts, bobbins, needles, and parts.
  • Manuals and community knowledge for nearly every model.
  • Motors that can frequently be rebuilt rather than replaced.

Character and Craftsmanship

There is a charm to these machines that no modern model quite captures. The gleaming black japanning, the gold decals, the solid thunk of a well-made mechanism — they are objects of beauty as much as tools. Many guild members take real pride in restoring and displaying their machines alongside the quilts they produce.

A Teaching Tool

Vintage machines are also wonderful for teaching. Their straightforward mechanics help new sewers understand how a sewing machine actually works — how the needle, feed dogs, and bobbin cooperate to form a stitch. That understanding builds confidence and makes troubleshooting far less mysterious down the road.

Passing the Passion Along

Guilds thrive on shared knowledge, and vintage machines give members plenty to share. Experienced collectors mentor newcomers on how to spot a good machine, how to clean and oil it, and how to get the best stitch out of it. That exchange of knowledge strengthens the community and keeps these machines in active service.

If your guild has not yet caught the vintage bug, it may only be a matter of time. Bring a well-tuned old machine to the next meeting and let members try it. The smooth, steady stitch tends to speak for itself — and before long, another quilter will be on the hunt for a vintage machine of her own.
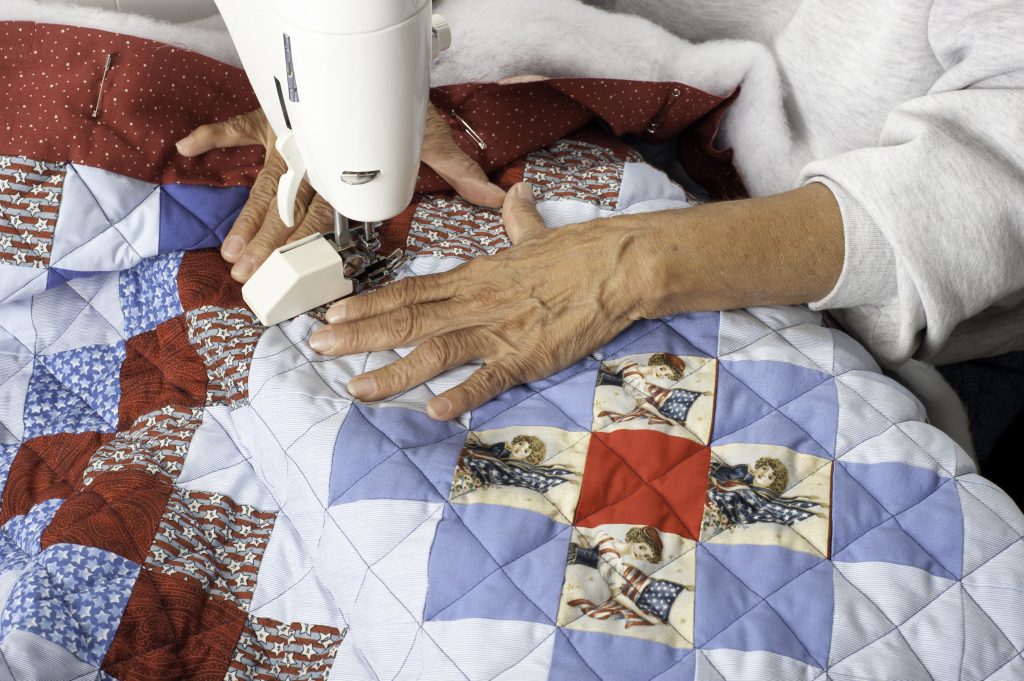
Preparing a quilt to send for quilting

Use Scant ¼” inch seam. Most patterns call for a scant ¼’ inch seam. Smaller seams, especially those not secured on the edge of the quilt, can pull out when stretched on a long arm quilting machine. Secure exposed edges of seams.

Press seams flat. It is best to press as you go, but regardless, you need to press the seams flat before sending the quilt to be quilted. Un-pressed seams will result in imperfect quilting. We will press if we must but will charge you our maximum hourly rate to do so.quilting

Clip loose threads. Loose threads will show through the light fabrics in your quilt after the quilting is done.

Square the quilt top. Quilt attaches to leaders that roll. A crooked edge will result in a twisted quilt. We recommend scalloped edges be cut after the quilt is quilted. Tell us if this is the plan and we will work accordingly.

Pin a note to mark top if quilt is directional. Marking the back if it is directional is also important. This is not necessary if there is no directionality.

Embellishments such as buttons, beads, ribbons etc. should be added after the quilting is done.

We cannot quilt out bulges from wavy borders or blocks. Check blocks before piecing together to make sure they match. Measure quilt in three inner places before cutting border and average the measurements. Do not sew a longer piece to the edge and then cut off the extra, or ease in a border that is what the blocks should have added up to. The extra fabric will fold over and bunch under the quilting machine.

Backing and batting: Busy fabrics on back tend to hide machine starts and stops. Custom quilting always requires many seam ends. Edge to edge quilting is more forgiving but will still show when the bobbin thread runs out.

A ½” inch seam is recommended if your backing is seamed. Many people now piece the back of their quilts. This is suitable as long as you realize we cannot guarantee the back will be centered on the top.

Remove selvedge edges from seam before sewing. Selvedge edge has a different stretch than the rest of the fabric and will result in a pulled look if left in the seam.quilting

Backing of quilt must also be squared.

Batting labeled as appropriate for machine quilting is needed. Some batting, especially polyester loose weave, will pull too much on the machine.

Backing and batting must be 4-6 (6 preferred) inches larger than quilt front. Backing and batting attach to the leaders at top and bottom and to clips on the side of the frame. Extra fabric is needed to do this.

Do not use sheets as backing. Sheets do not stretch the way quilting fabric does, and they are more closely woven which wears out the needles faster.

Do not baste backing, batting and top together. More information on this website